What’s included in the exported files?
The exported file will include three components:- The original raw video
- A ‘.xml’ file containing the generated clip content with auto captions, auto reframe and B-Rolls(if has)
- A ‘.srt’ file providing captions with timestamps Please note: Auto captions generated by OpusClip will be exported as overlays and cannot be edited in Premiere Pro. Kindly make sure that you have completed the caption adjustment within the OpusClip editor and saved it before exporting the XML file. If you want to add captions using Premiere, you can import the ‘.srt’ files into Premiere and edit style and effects in Premiere.
Which elements or settings from my project will be exported to DaVinci Resolve?
- All Videos: the original videos, videos you uploaded.
- All Audios: the original video’s audio, music added from the music library, music you uploaded, and voice-overs.
- All Images: the B-roll footage, uploaded images, logos, etc.
- Captions and Emojis: OpusClip’s caption styles and animations will be exported as overlays. Additionally, you will receive a ‘.srt’ file, allowing for more advanced customization in DaVinci.
Can I extend my video before and after the original video?
Yes, you can. When you want to add context to a specific clip, we currently support extending each video clip by 30 seconds before and after.What can I do when I export a clip file to DaVinci Resolve?
When exporting a clip file to Adobe Premiere, you gain versatile editing capabilities:- Precise Editing: Perform detailed tasks such as removing frames or adjusting caption timestamps.
- Reframing: Achieve varied visual perspectives by adjusting framing and composition.
- Further Enhancements: Customize your video with sound effects, music, transitions, and more. Add more fancy effects to auto captions, like resize, rotate, replace.
Can I export the short videos to DaVinci Resolve?
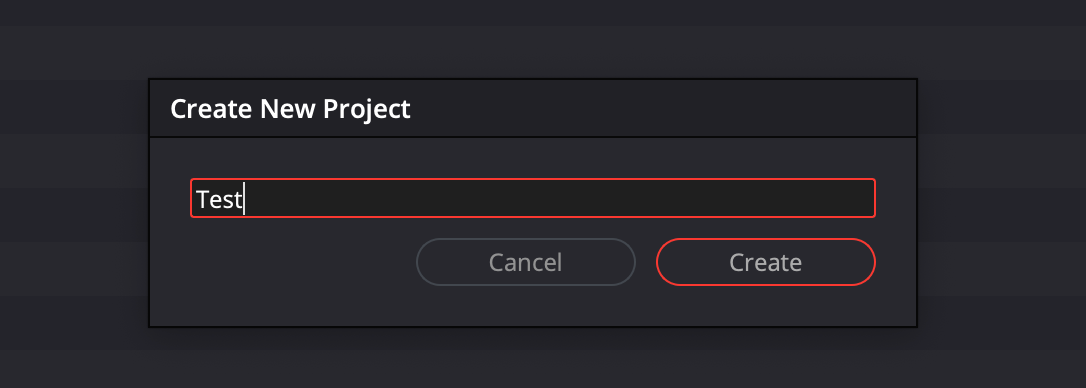
Yes, .xml files can be imported into Davinci Resolve. Here’s how to import them:- Create a new project in DaVinci
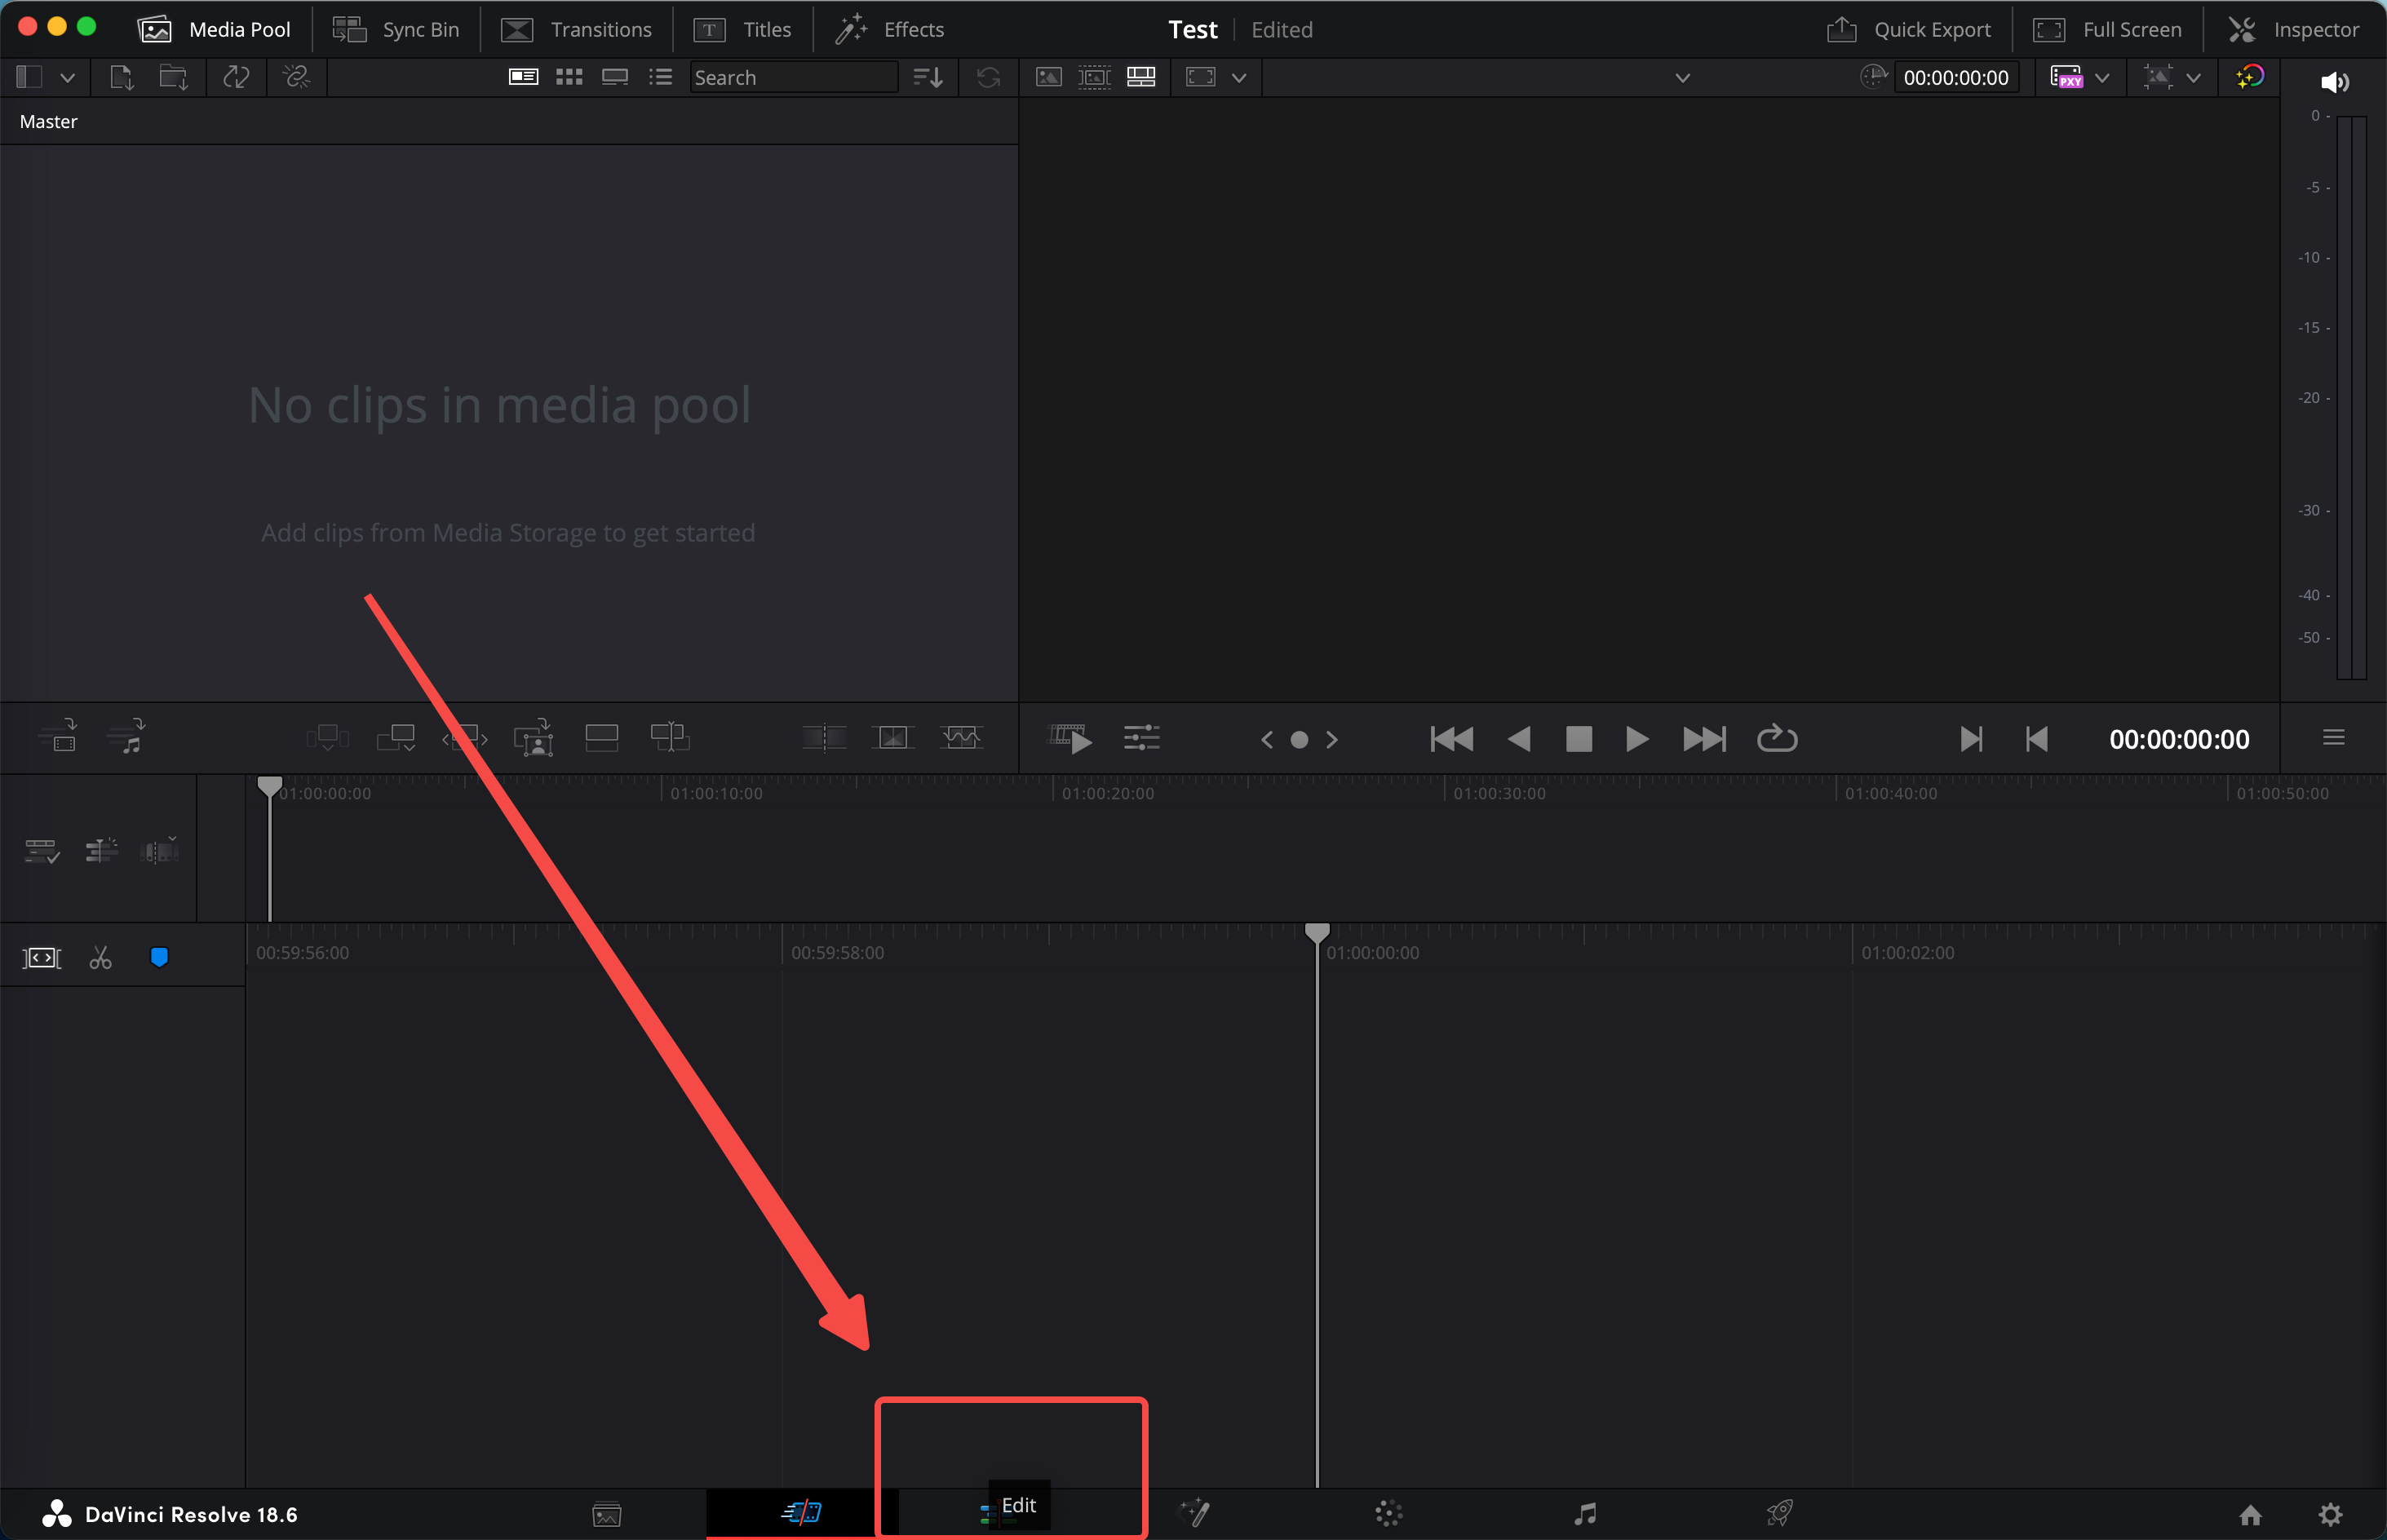
- Navigate to the Edit tab, at the bottom row of icons in the main interface.
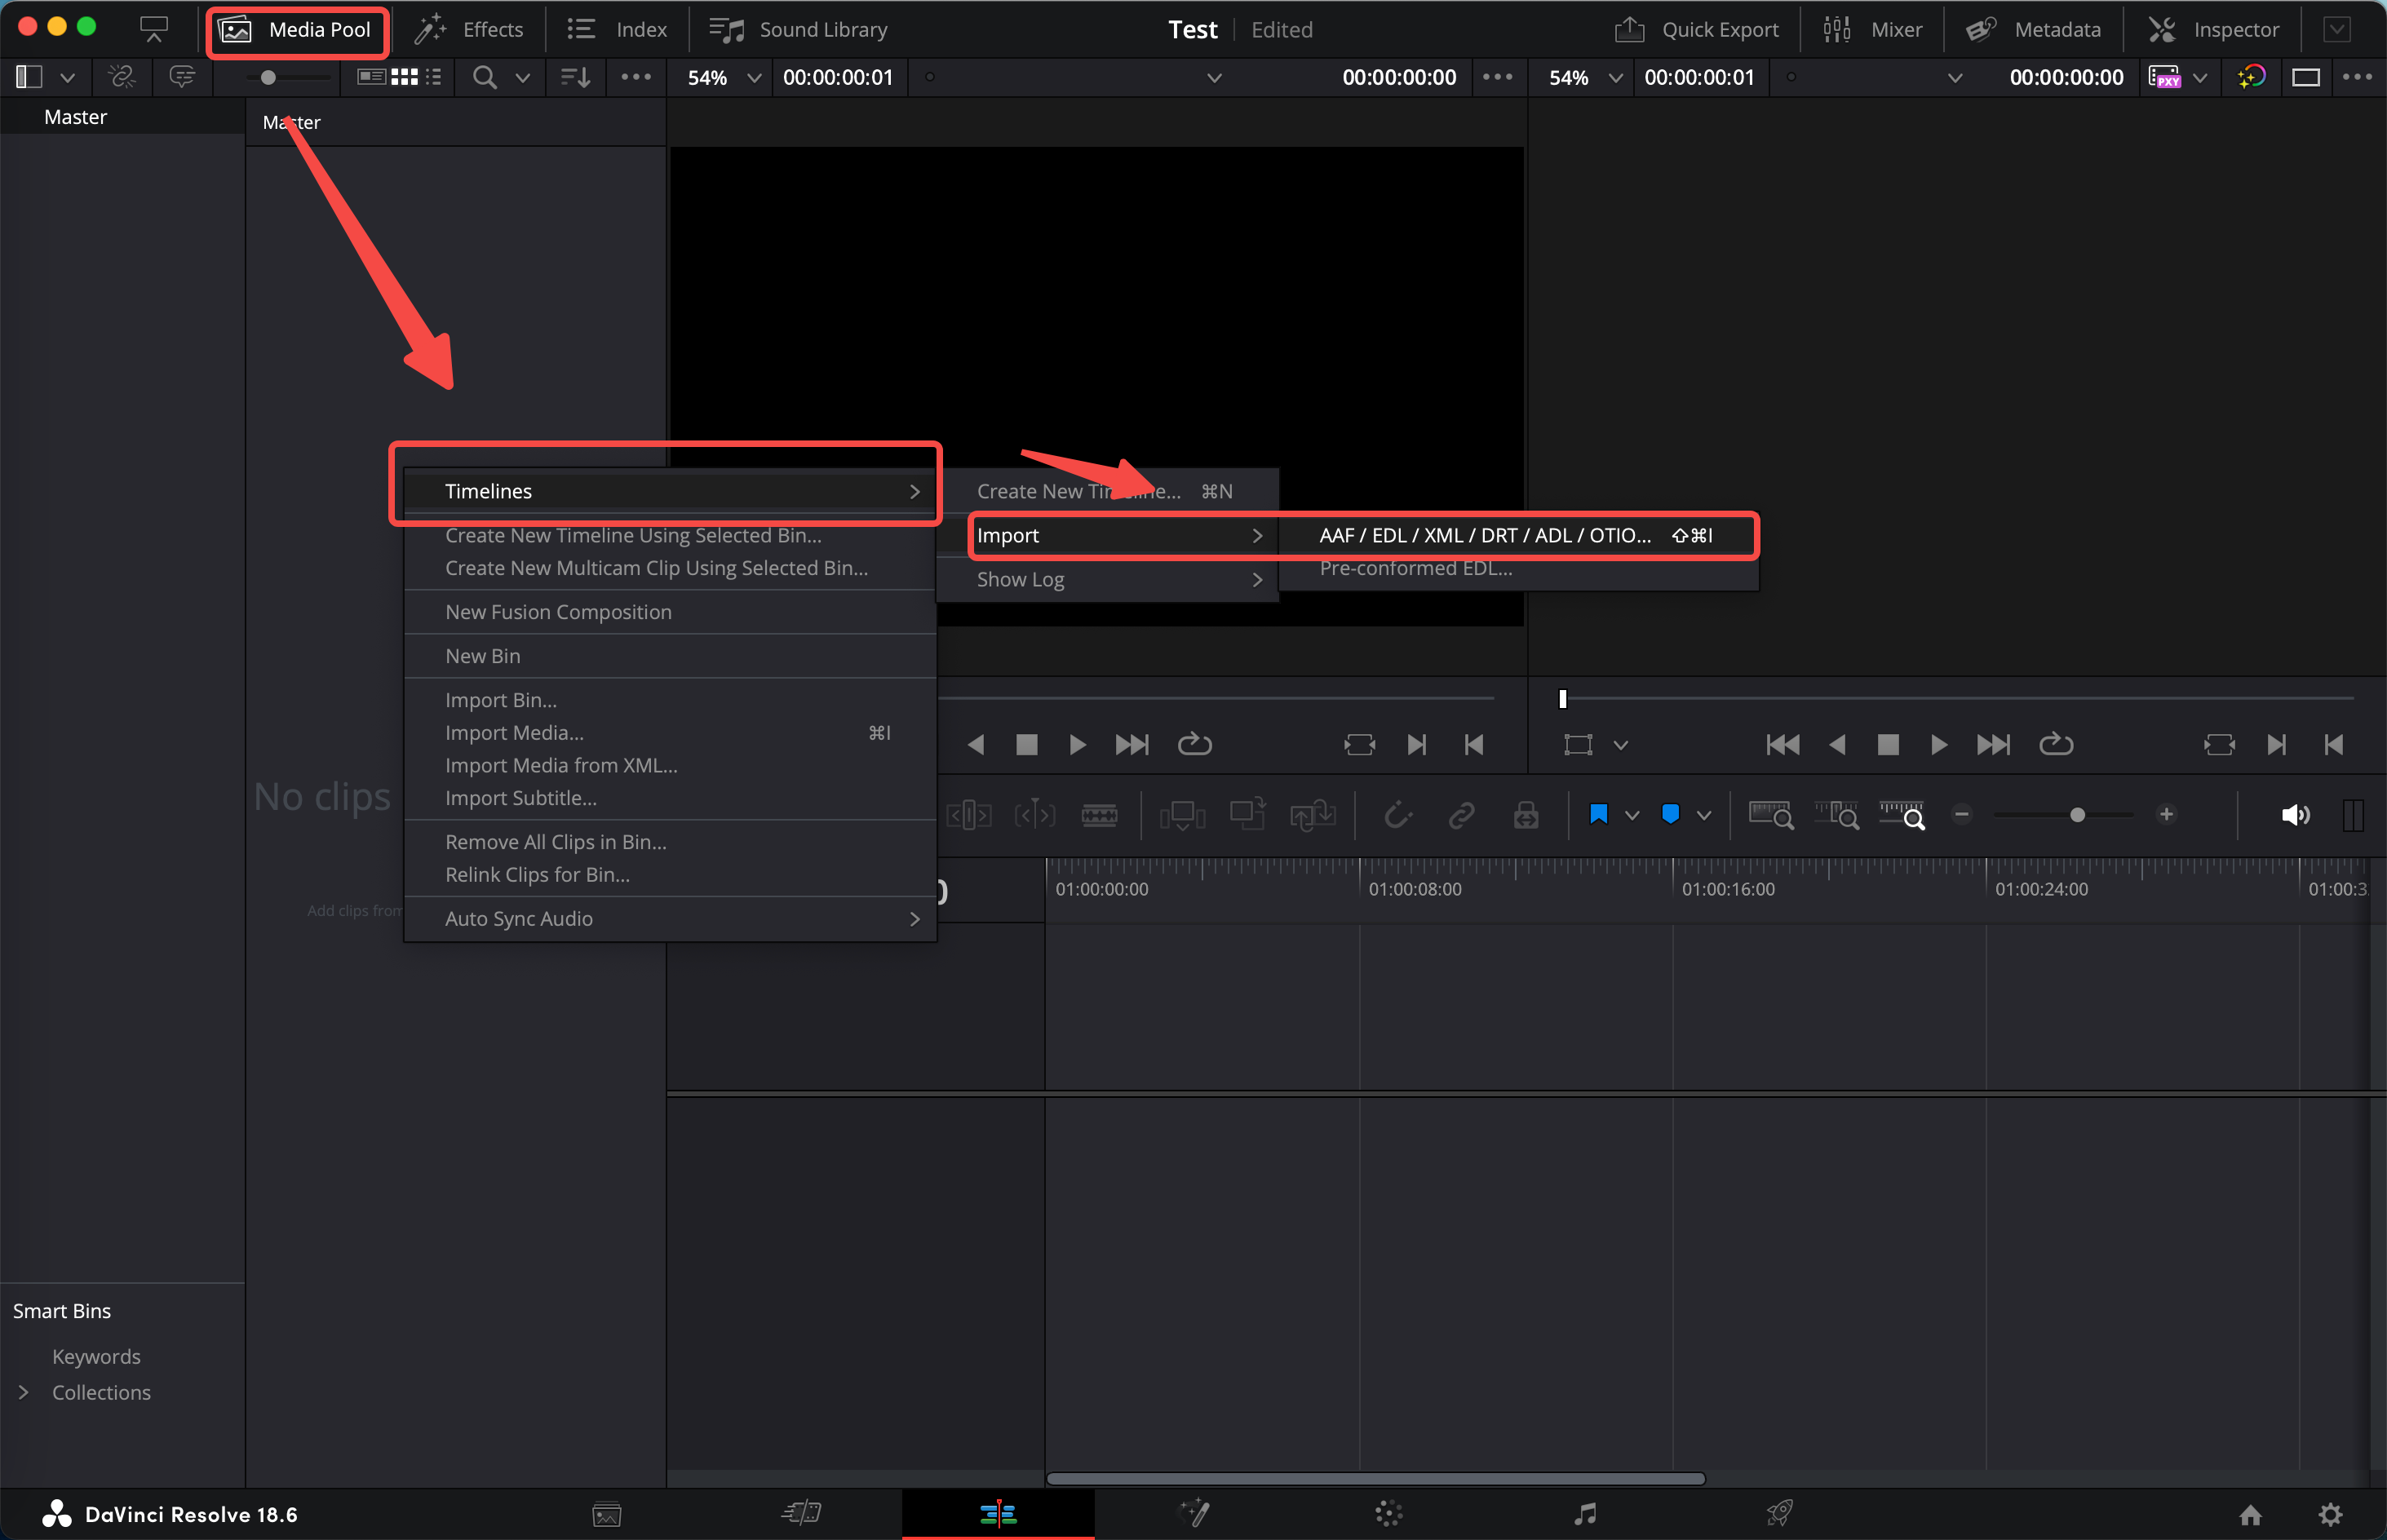
- Double click on the Media Pool area and select “Import AAF, EDL, XML…”
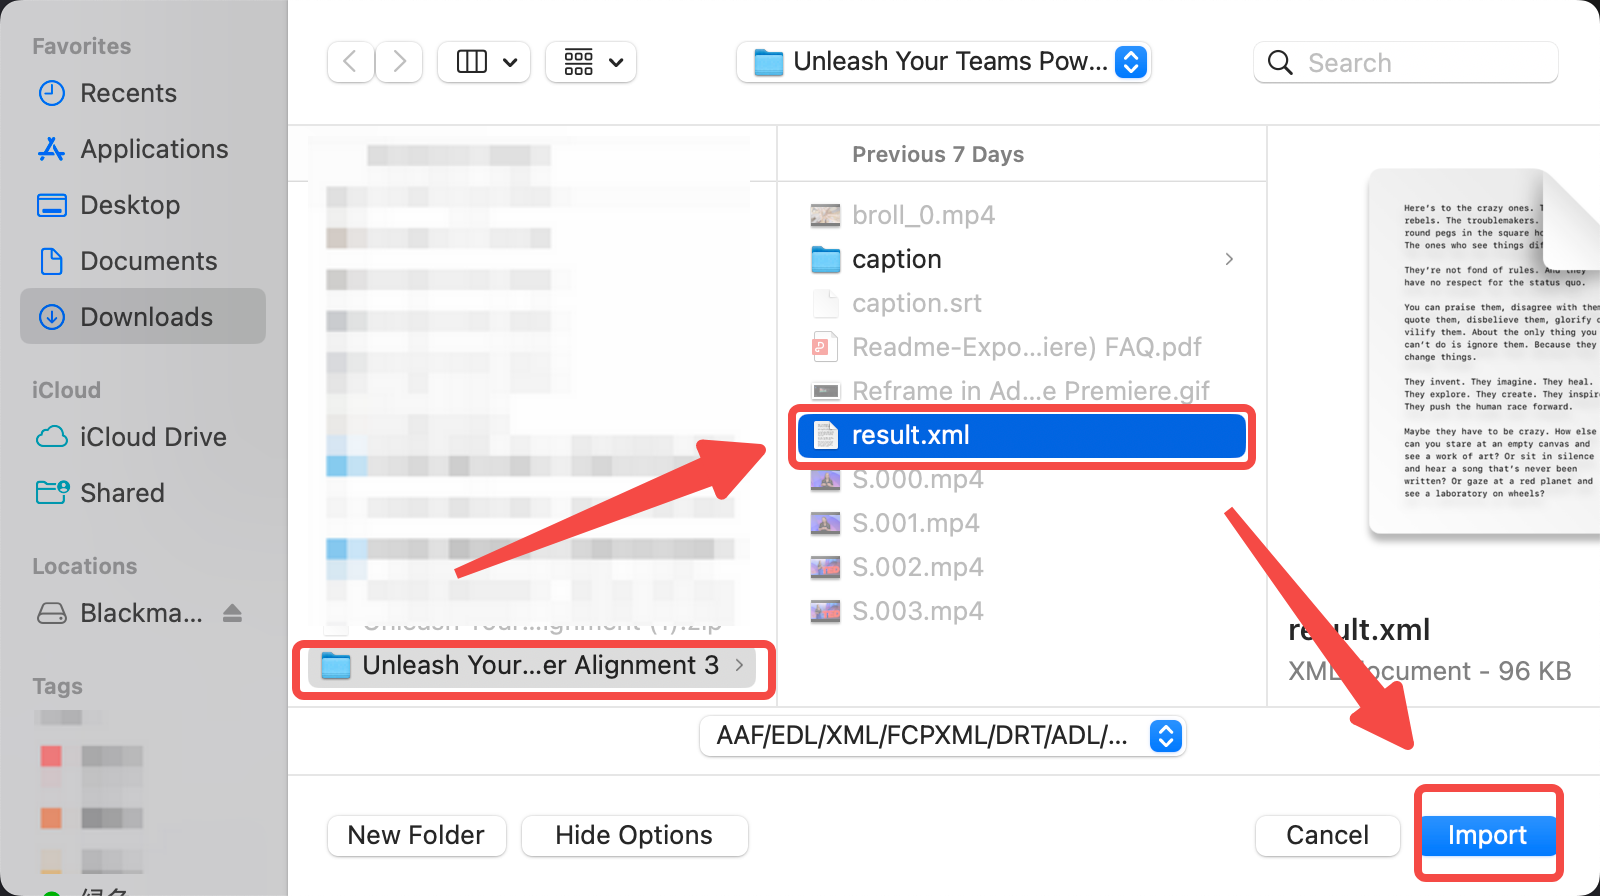
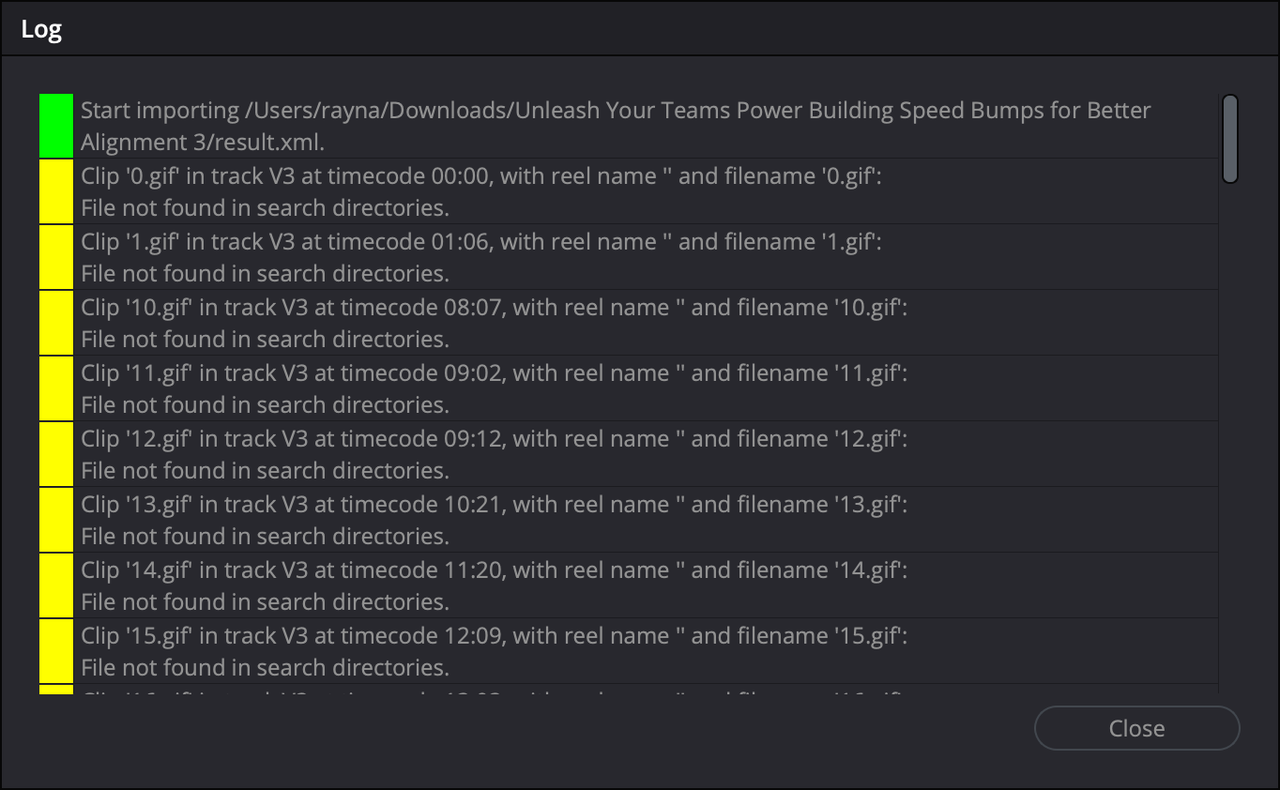
- Navigate to your XML file and click Open.
- If you encounter a “media file not found” issue, don’t worry! You can manually import the media files by simply dragging and dropping them into the media pool.
Why are the audio tracks muted in DaVinci Resolve?
- Select all the clips on the timeline.
- Right-click on any selected clip and choose Clip Attributes.

- In the Clip Attributes window, go to the Audio tab.
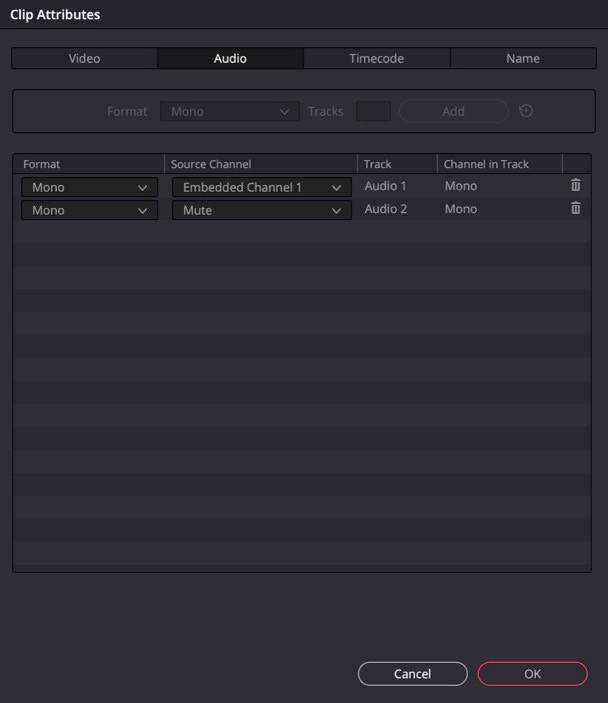
- Fix the Source Channels by correcting any duplicate listings or incorrect labels.
How can I reframe videos in DaVinci Resolve?
- Import the “.xml” file.
- Select a specific clip in the timeline or double click on the frame you want to edit.
- Go over to the Video tab on the top right side of the screen. This will give you a whole slew of resizing options for your footage. In this menu is a drop-down menu labeled cropping.
- Here, you’ll have options to Crop Left, Crop Right, Crop Top, and Crop Bottom. Changing these values will crop the bottom and the sides of the video.