> ## Documentation Index
> Fetch the complete documentation index at: https://help.opus.pro/llms.txt
> Use this file to discover all available pages before exploring further.

# Add Logo and Custom Fonts

## Upload logo

To upload your logo or a overlay, you can either click **Upload** and upload your asset, or click **Brand Template** and select a Template which contains your logo or overlay.

## How do I add a custom font?

Pro plan users can add custom or brand fonts for captions.

### How to add custom fonts to a clip

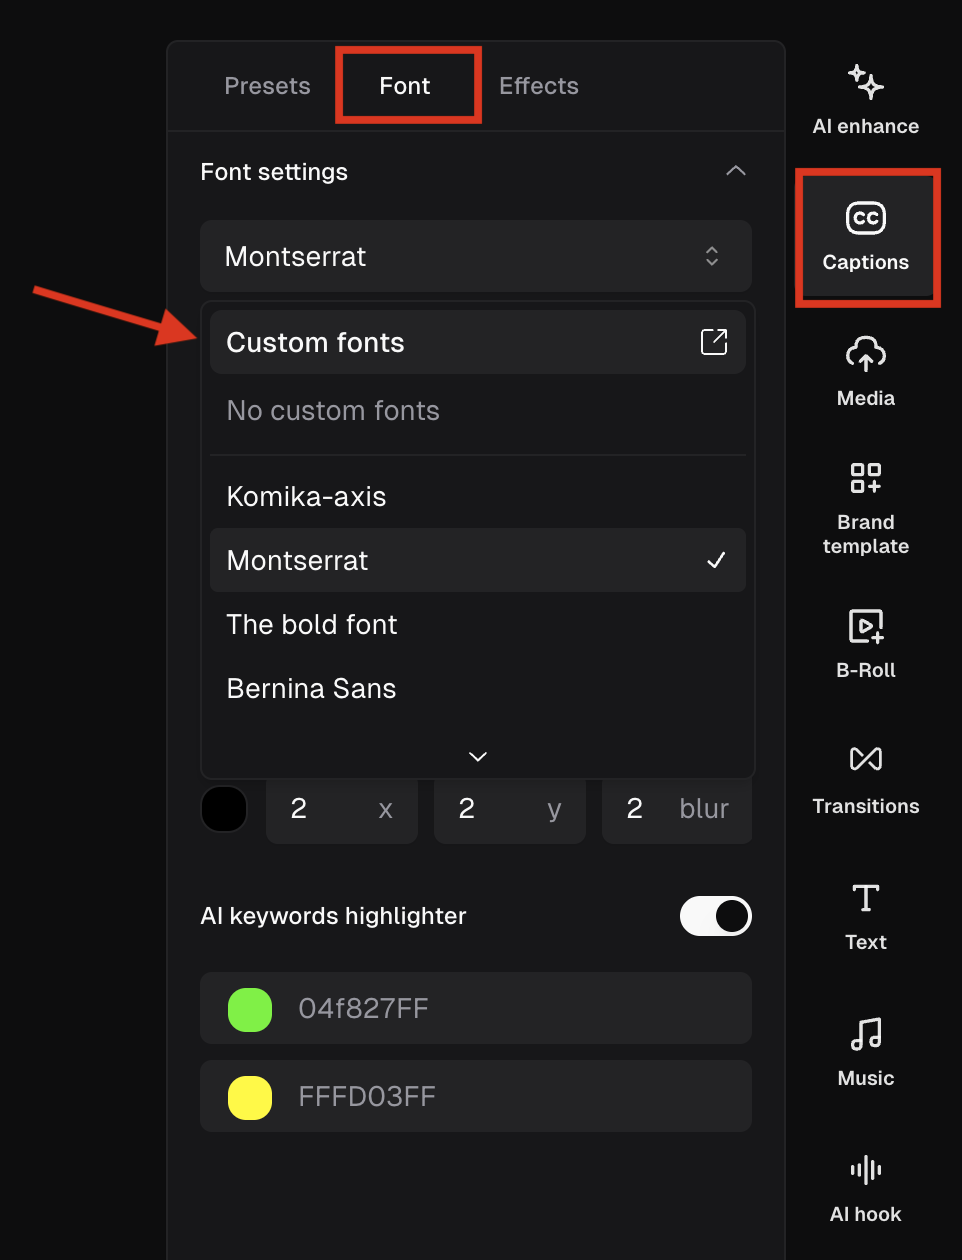
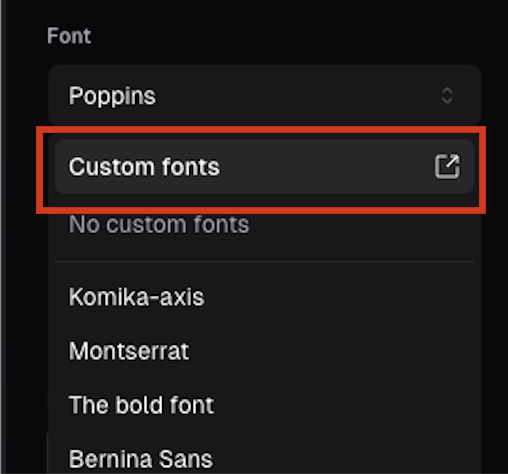
1. Click **Captions** in the editor and go to **Font** tab, select **Custom fonts** from the dropdown list. You'll be taken to your Asset Library.

<div className="img-frame">
  <img src="https://mintcdn.com/opusclip-c3e48c12/7i57AL9_SzMSJI7P/images/imgs/screenshot0408-08.png?fit=max&auto=format&n=7i57AL9_SzMSJI7P&q=85&s=6cd6873df9373ecda702ffe98dee8d38" noZoom width="962" height="1260" data-path="images/imgs/screenshot0408-08.png" />
</div>

2. Here, Pro plan users can upload up to 2 fonts. Currently OTF and TTF font formats are supported.

<div className="img-frame">
  <img src="https://mintcdn.com/opusclip-c3e48c12/VHEffbsgbIX8L5Jz/images/imgs/snapshot-79.png?fit=max&auto=format&n=VHEffbsgbIX8L5Jz&q=85&s=80d66f610c08443f9314509d919213de" noZoom width="1464" height="848" data-path="images/imgs/snapshot-79.png" />
</div>

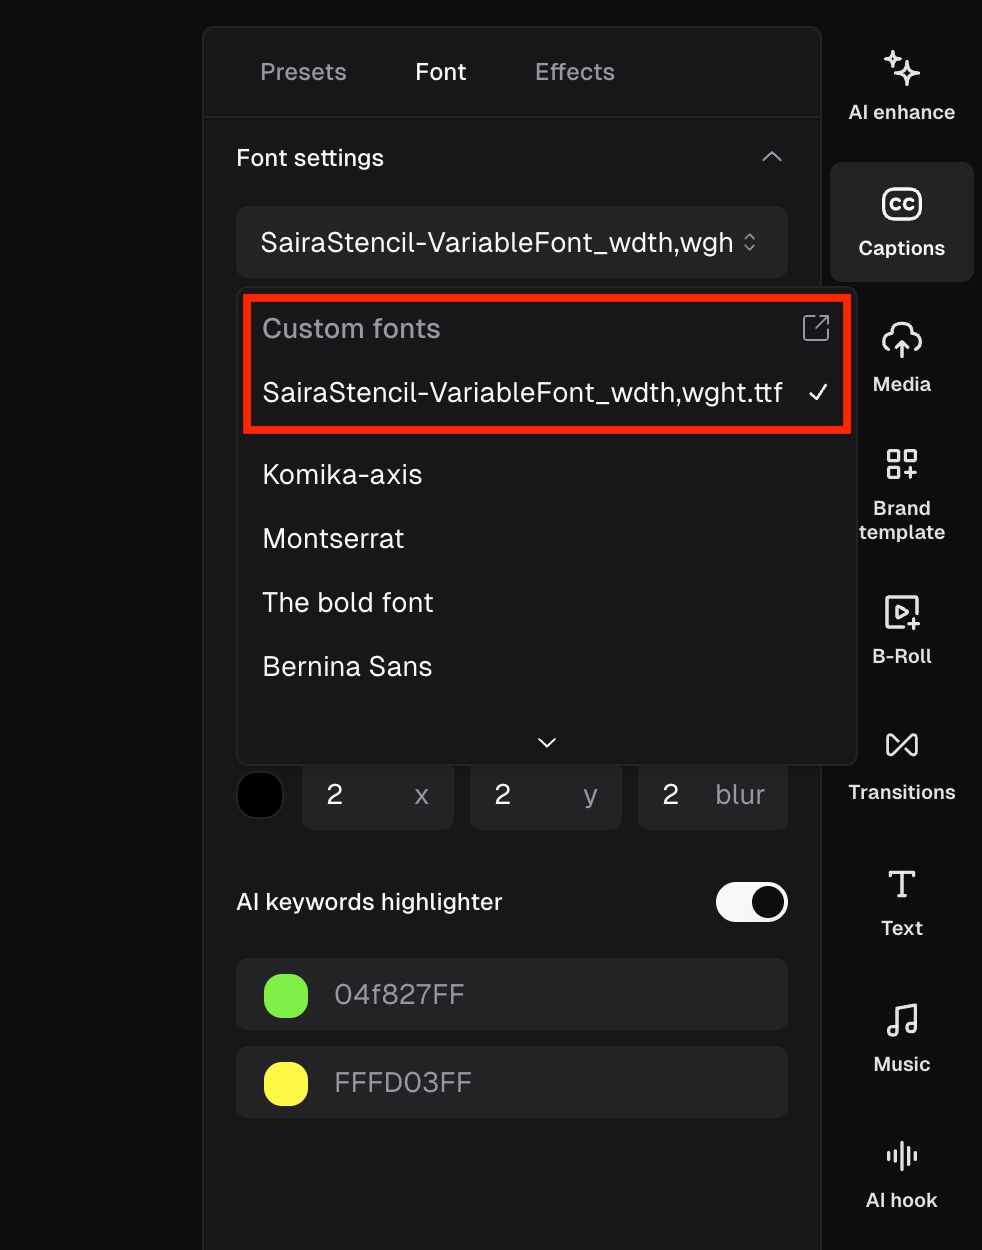
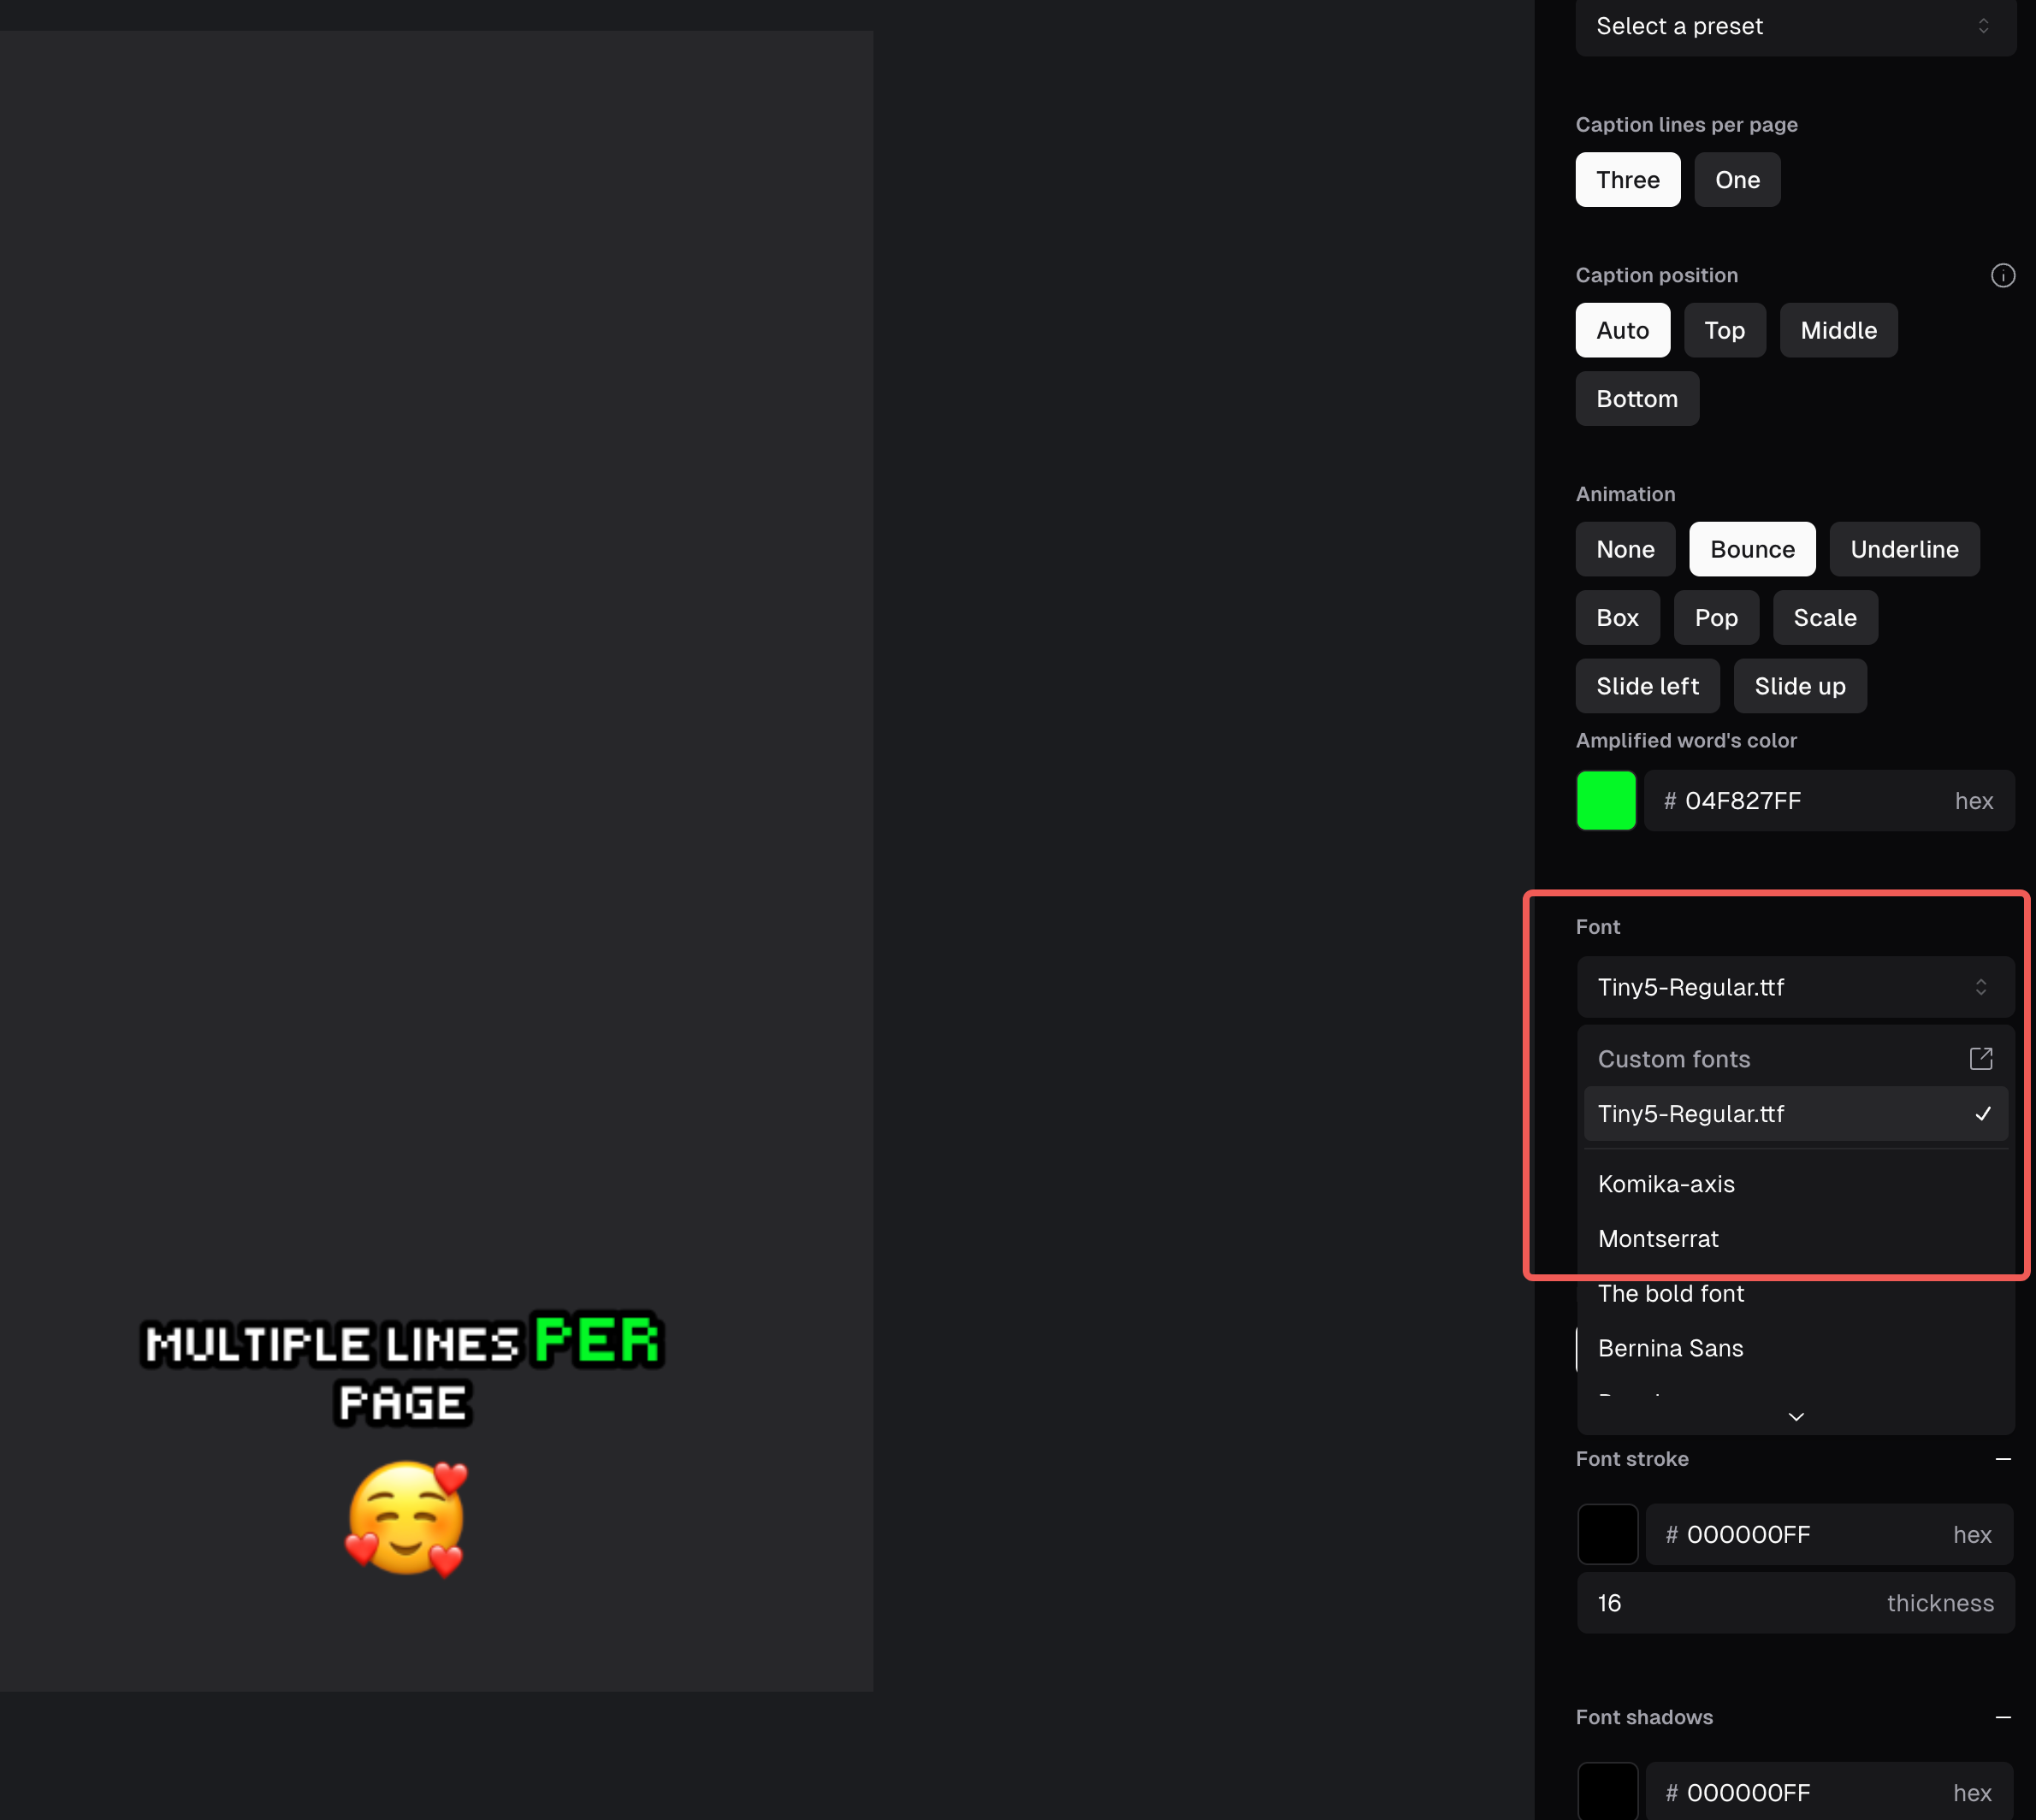
3. Once uploaded your font will be available in the editor.

<div className="img-frame">
  <img src="https://mintcdn.com/opusclip-c3e48c12/7i57AL9_SzMSJI7P/images/imgs/screenshot0408-09.png?fit=max&auto=format&n=7i57AL9_SzMSJI7P&q=85&s=e03afc8f9ad33fc91918bd06ee1d51f8" noZoom width="982" height="1250" data-path="images/imgs/screenshot0408-09.png" />
</div>

### How to add custom fonts to a brand template

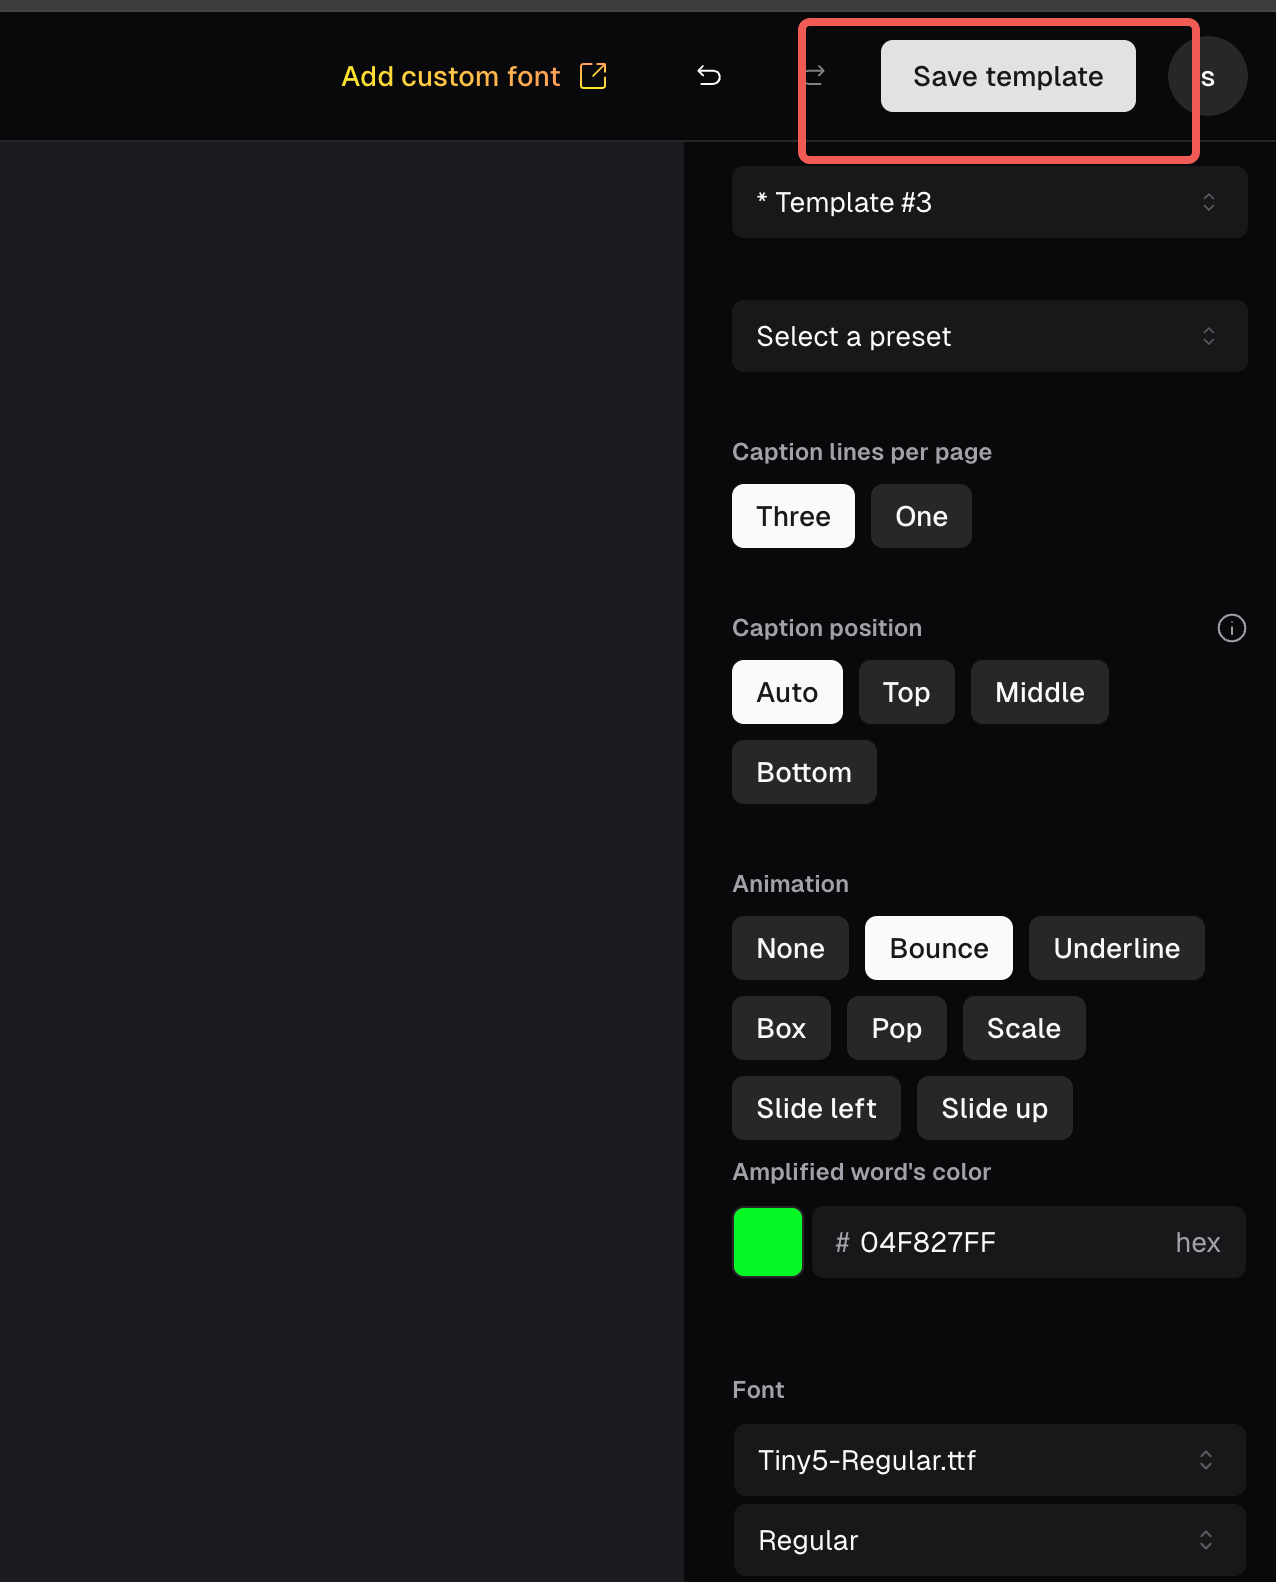
1. Navigate to your **Brand Templates** and click the add custom font button in your brand template. You'll be taken to your **Asset Library**.

<div className="img-frame">
  <img src="https://mintcdn.com/opusclip-c3e48c12/VHEffbsgbIX8L5Jz/images/imgs/snapshot-81.png?fit=max&auto=format&n=VHEffbsgbIX8L5Jz&q=85&s=0f5f11bbf4948b6e4f115c06181638f9" noZoom width="508" height="474" data-path="images/imgs/snapshot-81.png" />
</div>

2. Pro plan users can upload up to 2 fonts. Currently OTF and TTF font formats are supported.

<div className="img-frame">
  <img src="https://mintcdn.com/opusclip-c3e48c12/VHEffbsgbIX8L5Jz/images/imgs/snapshot-82.png?fit=max&auto=format&n=VHEffbsgbIX8L5Jz&q=85&s=33d602f19d469fb696cb2f37dcf76370" noZoom width="2450" height="1340" data-path="images/imgs/snapshot-82.png" />
</div>

3. Once uploaded your font will be available to add to your **Brand Template**.

<div className="img-frame">
  <img src="https://mintcdn.com/opusclip-c3e48c12/VHEffbsgbIX8L5Jz/images/imgs/snapshot-83.png?fit=max&auto=format&n=VHEffbsgbIX8L5Jz&q=85&s=b30b6d1055ab81a44e2d95c4d5eb445d" noZoom width="2380" height="2128" data-path="images/imgs/snapshot-83.png" />
</div>

4. Make sure to save your changes!

<div className="img-frame">
  <img src="https://mintcdn.com/opusclip-c3e48c12/VHEffbsgbIX8L5Jz/images/imgs/snapshot-84.png?fit=max&auto=format&n=VHEffbsgbIX8L5Jz&q=85&s=1351e1d7ec8671d858b377a72a00e70f" noZoom width="1276" height="1582" data-path="images/imgs/snapshot-84.png" />
</div>

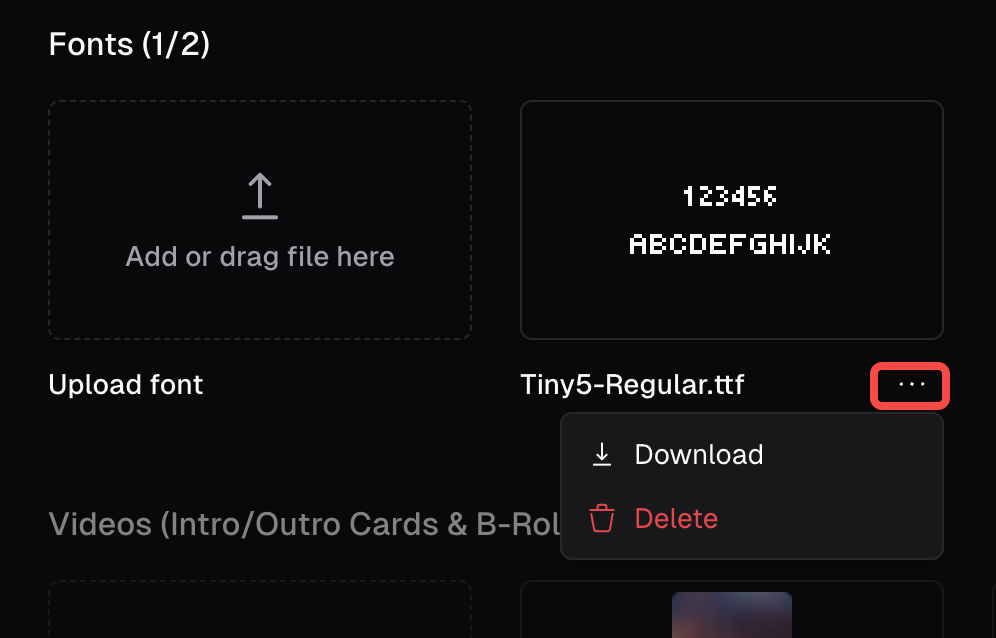
### How do I manage uploaded fonts?

You can manage your custom fonts in the **Asset Library**.

<div className="img-frame">
  <img src="https://mintcdn.com/opusclip-c3e48c12/XStAq9UXRcMPMTAr/images/imgs/snapshot-85.png?fit=max&auto=format&n=XStAq9UXRcMPMTAr&q=85&s=e6aa65d8e99d836e033a81c42e1bb3e4" noZoom width="996" height="638" data-path="images/imgs/snapshot-85.png" />
</div>

### How many custom fonts can I upload?

Pro plan users can upload 2 custom fonts.
