> ## Documentation Index
> Fetch the complete documentation index at: https://help.opus.pro/llms.txt
> Use this file to discover all available pages before exploring further.
# Adjust Layout
## Change layout
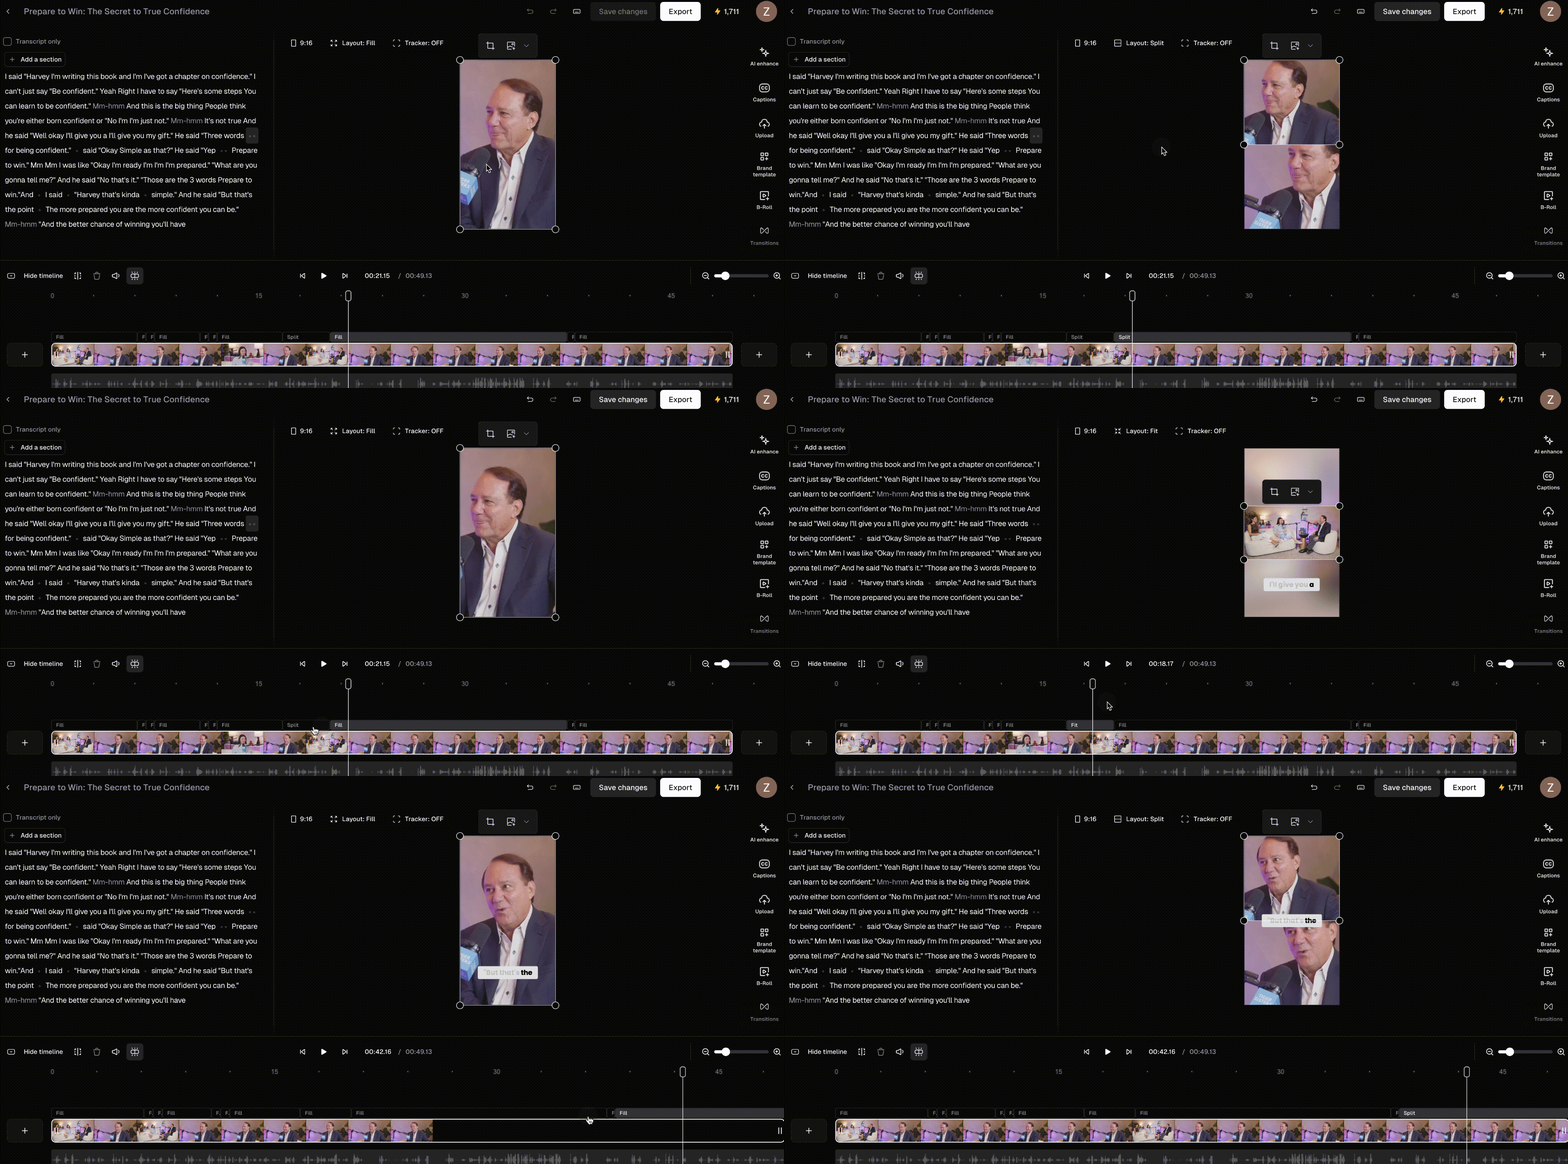
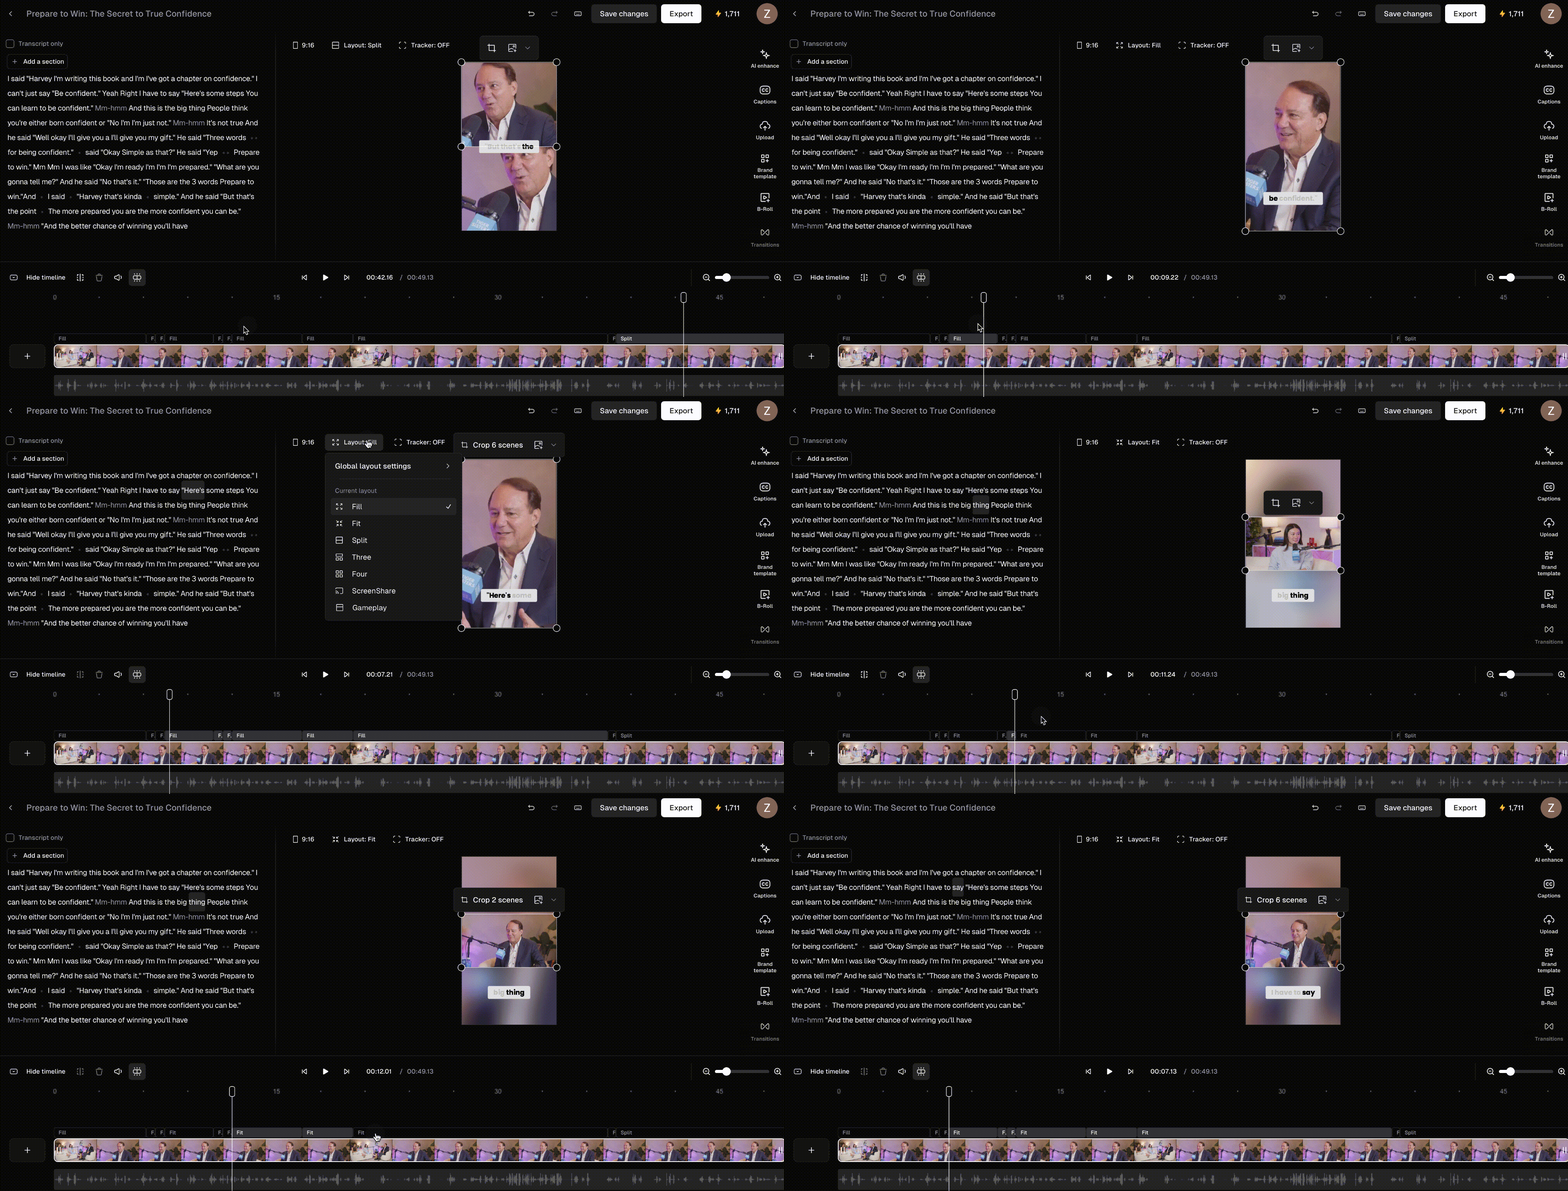
To change the layout of a clip, click **Clip layout settings** on the right-side panel, and select a layout in the **Applicable auto layout** section. Your layout will be changed when applicable.
You can also change the layout of a specific segment within a clip. To do so, select a scene from the timeline, right-click or click the Layout dropdown on the canvas to change the layout.
You can also select multiple scenes in the timeline by holding Command and clicking, or by clicking and dragging with your mouse to highlight the scenes you want to adjust.
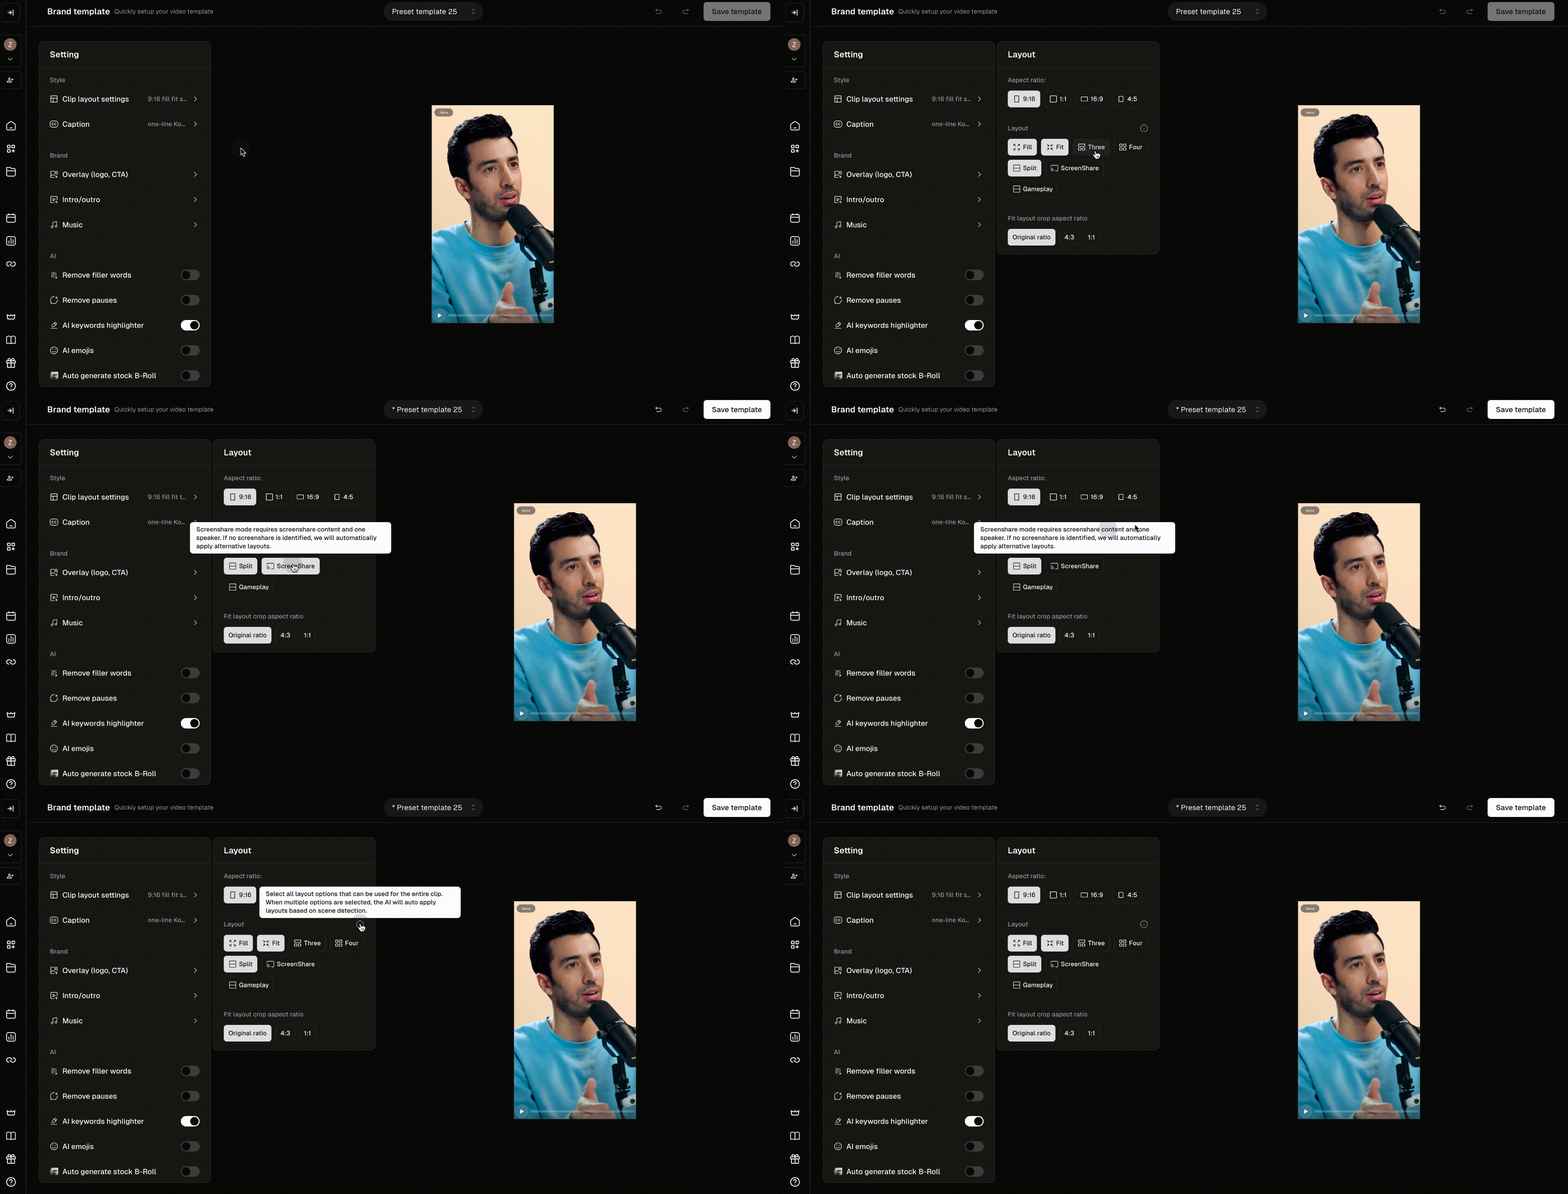
## Set default layout
You can customize your layout preferences using the brand template and apply them to your entire project before submitting it. To get started, navigate to the brand template tab and create a new template.